

How to Measure Head Height for a Loft Conversion in 15 Minutes
Head height is the first thing a loft conversion lives or dies by. Everything else — a rear dormer, a hip-to-gable, a row of rooflights on the back slope — is really an answer to a headroom problem. Before you spend anything on drawings or a surveyor, you can get a decent idea of where you stand with a tape measure, a level and a quarter of an hour in the loft.
This isn't a substitute for a proper survey. It is a way of stopping a bad idea before it costs you money, and of walking into a conversation with a designer already knowing roughly what you've got.
What you're actually measuring
Three numbers matter. The first is ridge height: the distance from the floor of the loft to the underside of the ridge board at the very top. The second is roof pitch, in degrees. The third, and the one that decides everything, is usable headroom — the horizontal band across the loft where a grown adult can stand without stooping.
Those three numbers combine to tell you whether a straightforward roof-within-a-roof conversion is realistic, or whether you'll need a dormer (or a rethink).
It helps to know what you're aiming at. In England, the Building Regulations expect roughly two metres of headroom above a staircase, and most building control teams, lenders and insurers are happiest with something closer to 2.2 to 2.3 metres in the main habitable space. Those figures are applied with judgement rather than as a hard rule, and interpretations vary between authorities, so confirm the position with your local building control team before you commit to a scheme.
The 15-minute kit list
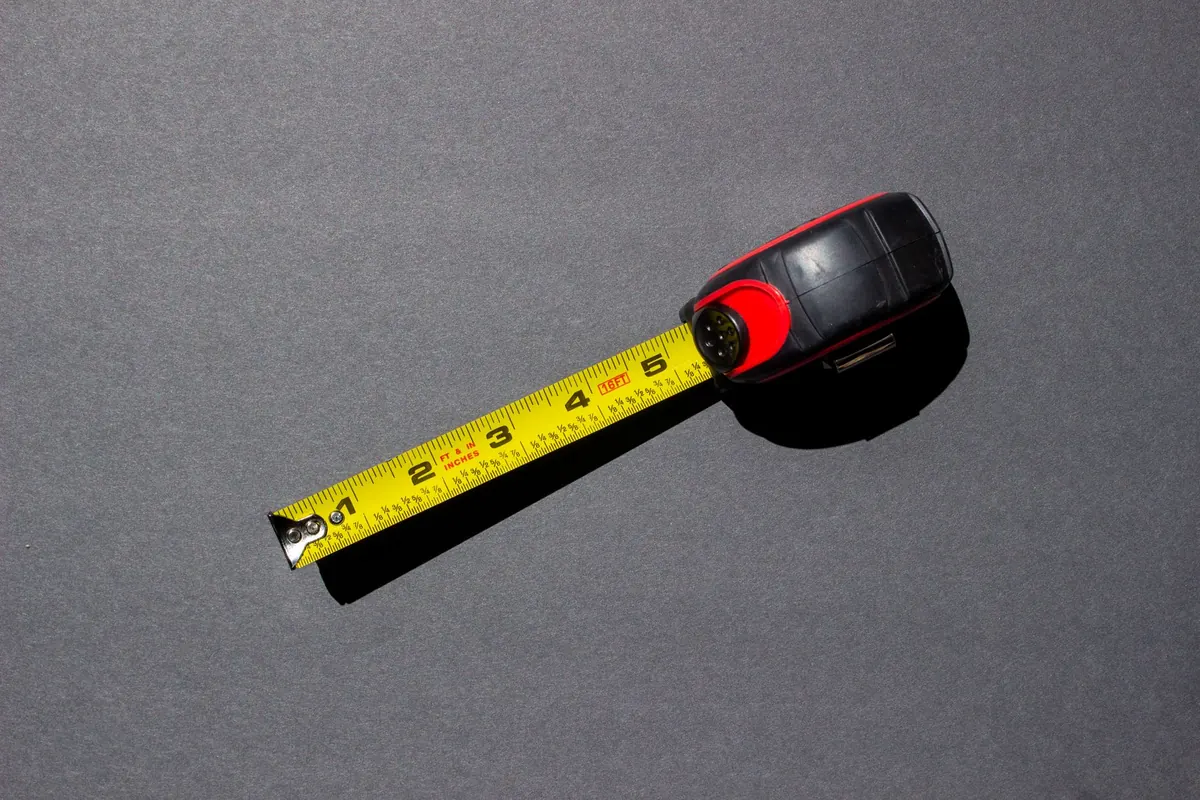
- A 5m tape measure — two, if you can find a second
- A helper, or a laser measure if you're working alone
- A 600mm spirit level, or a straight edge with a small level on top
- A step ladder or hop-up, plus a board to kneel or stand on
- A torch or head torch
- A phone for photos, and something to note numbers down on
- A dust mask if the loft is heavily insulated
Safety first. Walk on boards laid across the joists, never directly on the plasterboard ceiling below and never on loose insulation alone. Ceiling joists are not designed as a floor, and they will feel springy underfoot. Take your time, and don't do this in the dark.
Step 1: Find the ridge and measure straight up
Work your way to the top of the loft. Place the end of the tape on the top face of a ceiling joist directly beneath the ridge — that's your floor datum — and run it vertically up to the underside of the ridge board, the highest timber in the roof.
Keep the tape plumb. If you hold it by eye, check it against the spirit level; a tape that leans by 10 degrees over three metres can cost you a fair few centimetres of apparent height. Measure twice, at two points a metre or so apart along the ridge. Older roofs sag, and the two readings will rarely match exactly. Use the smaller one.
If something is in the way
Purlins, collar ties and diagonal braces get between you and a clean measurement. Measure in stages — joist to purlin, purlin to ridge — and add them up. With a laser measure, bounce off a flat surface if you can't get a direct line. A plumb bob made from a bit of string and a heavy screw works well too, if you have nothing else.
Step 2: Work out the roof pitch
You need the pitch because it tells you how fast headroom disappears as you move away from the centre of the roof.
Hold the spirit level horizontally against the underside of a rafter, or lay it across the ceiling joists running perpendicular to the ridge and bring it up to the rafter line. Level it. Now measure the horizontal distance from the level's far end back to the rafter — your run — and the vertical gap between the rafter and the level at that point — your rise.
A 600mm level makes the maths easy. Divide the rise by 600 and read across:
- 300mm rise per 600mm run — about 27 degrees
- 420mm per 600 — about 35 degrees
- 500mm per 600 — around 40 degrees
- 600mm per 600 — 45 degrees
Most British houses sit somewhere between 30 and 45 degrees. If you'd rather not do sums in a loft, a phone angle-finder app laid flat along a straight edge on the rafter will give you a reading close enough for a first assessment.
Step 3: Map where the headroom runs out
This is the bit that surprises people. At a 35-degree pitch you lose roughly 700mm of height for every metre you travel out from the ridge. At 40 degrees, it's about 840mm. At 45 degrees, it's a metre for a metre.
So take your bare ridge measurement and subtract what the finished build-up will cost you: new floor structure over the existing joists, insulation and plasterboard under the rafters, cables and downlights. That's often 300 to 400mm in total. Then work out how far you can move out from the ridge before you drop below your target headroom.
An example. A bare ridge height of 2.9m at a 35-degree pitch gives you roughly 2.55m finished at the centre, and only about half a metre either side of the ridge before you fall below 2.2m. That's a full-height band around a metre wide — tight, and the classic case for a rear dormer.
Push the bare ridge up to 3.4m and the picture changes completely: you're looking at a band closer to 2.4m wide, which opens up a straight conversion with rooflights.
Tip: sketch a cross-section on graph paper — ridge in the middle, two lines falling away at your pitch, a horizontal line at 2.2m. It takes five minutes and it makes sense of the numbers instantly.
Step 4: Subtract what you'll add
Don't be caught out by the things that eat height after you've measured:
- Floor build-up. New joists over the old ceiling joists, insulation, board and a finished floor surface — typically 200 to 250mm, more where a steel is needed.
- Ceiling lining. Insulation between and under rafters plus plasterboard, often 100 to 150mm depending on the target thermal performance.
- Services. Downlight depths, soil pipes for an en-suite, and ducting for an extractor fan all need space.
- The stair headroom. Building control measures headroom over the stairs from the pitch line, which is a different calculation and regularly catches people out.
When the numbers don't work
A low ridge with a wide footprint is the hardest case, and it usually means one of three things: a rear dormer to create a vertical wall of full-height space, a hip-to-gable or mansard where the shape of the house allows it, or accepting a smaller room with reduced headroom at the edges.
Raising the ridge is possible in some cases, but it changes the appearance of the house, almost always needs planning permission, and is a bigger structural job than most people expect. Dropping the ceiling of the room below buys you height, but hands the problem to a different room.
Check the planning position early if you're in a conservation area, in a listed building, or in a terrace where a dormer will be visible. Party wall agreements may also come into it. These are matters for your local planning authority and, where relevant, a solicitor — not something to guess at.
What to do with your numbers
Write down three figures: bare ridge height, roof pitch in degrees, and estimated finished headroom at the ridge. Add the width of the full-height band. That's a genuinely useful brief.
Be honest about marginal results. If your central band comes out under about a metre and a half, say so when you approach conversion companies, and ask directly how they'd solve it and whether a dormer is included in the price. If the figures look comfortable, ask what can be done with rooflights instead.
Head height is a structural and Building Regulations question as much as a measuring one. Anything beyond a simple rooflight conversion should be checked by a structural engineer and your local building control team before work starts, and it's worth asking any company you speak to about their trade body membership and whether their guarantee is insurance-backed.
Fifteen minutes in a dusty loft won't give you a design. It will, though, tell you whether the next conversation is worth having.